Showing posts with label Christmas. Show all posts

Tuesday, January 7, 2014

Christmas 2013 Crocheted Ornaments

In addition to several commissioned pieces, I crocheted a ton of gifts this past holiday season. Did I remember to take pictures of everything? Nope. I'm so annoyed with myself!!  In this post, I have linked the name of each ornament to the pattern's location on the web.  For posterity's sake, I'm listing  all of the Christmas items I made, even if I forgot to take a picture.

I made this Santa and Rudolph pair for an ornament exchange I went to with some preschool & dance mom friends. Both patterns were so great!!  They weren't originally meant to go together (the patterns were written by two separate people), but they were roughly the same scale, so they looked nice next to each other.  Sorry for the slightly blurry picture.


This Santa & Snowman pair were crocheted for Sonia's preschool teachers, and they seemed to be a big hit!


After being inspired by the pattern I saw here, I freehanded this minion ornament for my playgroup ornament exchange. To get the perfect sphere shape, I used this amazing tutorial on crocheting mathematically perfect spheres.  It's awesome!! (For the uninitiated, minions are characters from the Despicable Me movies.) 


I chose the one-eyed minion because I knew it would end up in a house that contained a four-year-old kid, and all the four-year-old kids I know seem to love the one-eyed minions the best.


I had a hard time sewing the strap to the minion's monocle straight....


In action as an ornament!


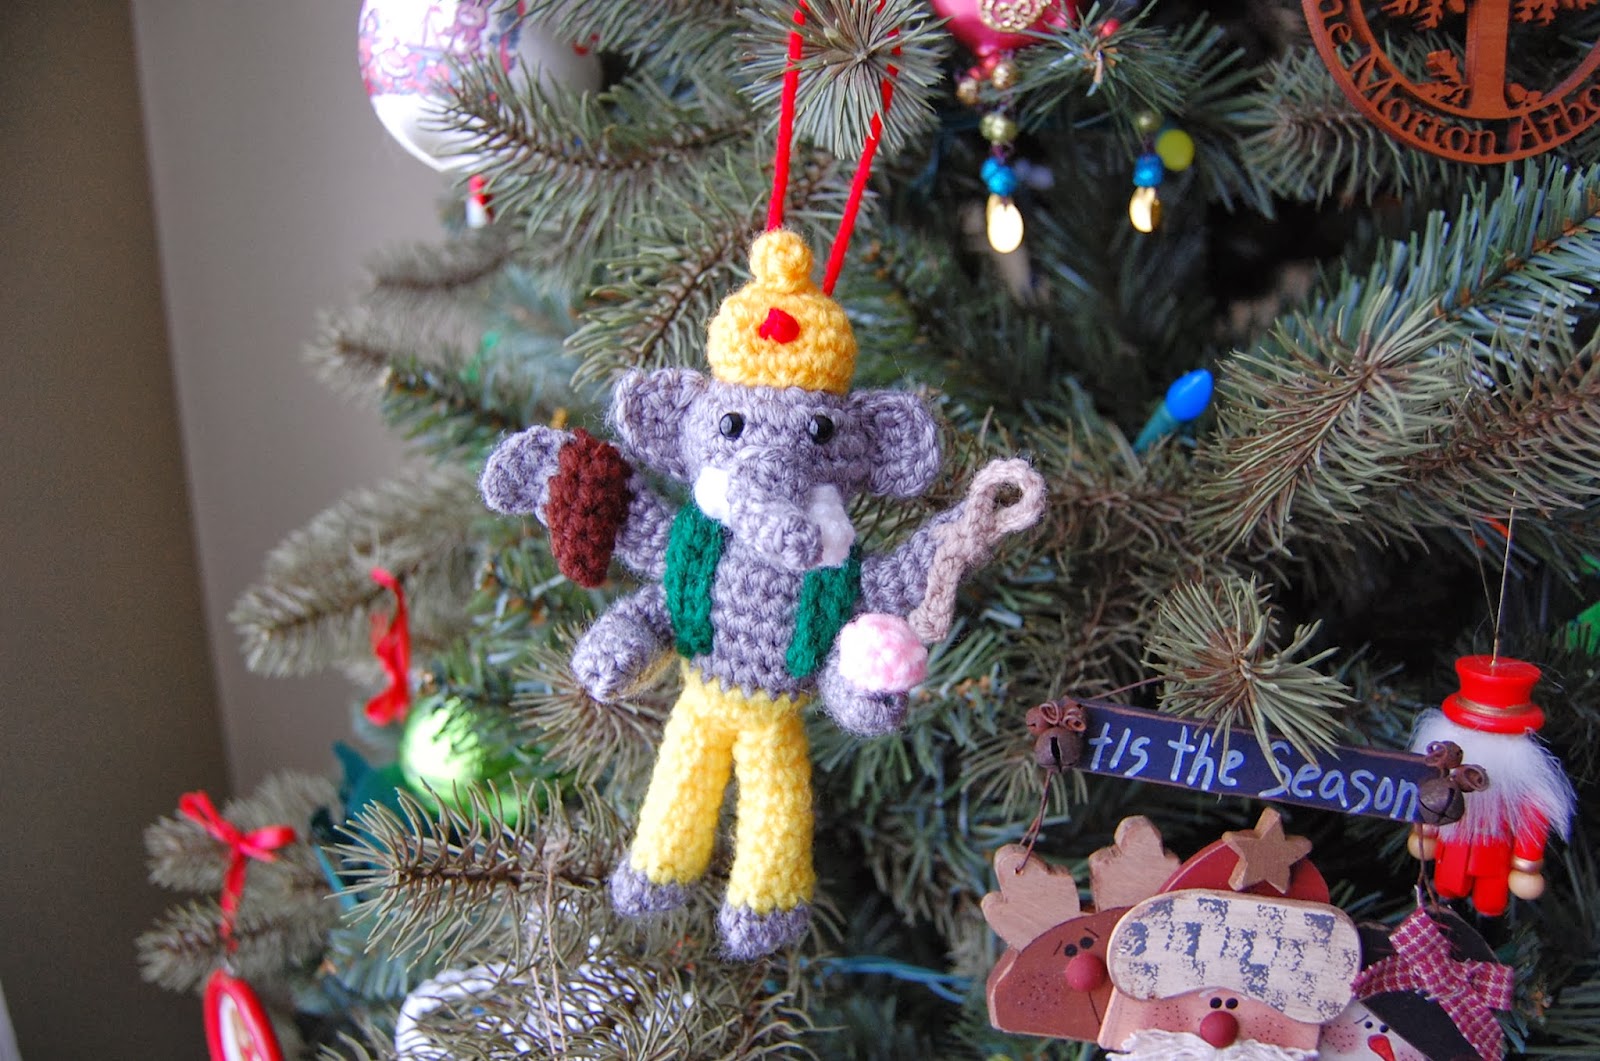
For our fabulous Hindu friends that subscribe to the "when in Rome, do as the Romans do" philosophy and celebrate a secular version of Christmas (the parents of this family are originally from India and now live in the US), I crocheted this Ganesha (a Hindu deity) and tied a hanger on it so it could be a Christmas tree ornament.  The pattern was wonderful and amazingly detailed.  I did some research on Ganesha to educate myself and I love how the pattern has him holding some of the classic items that Ganesha figures hold: an axe, a rope, and a delicacy.  This Ganesha even has the classic broken tusk.  I have to admit that Ganesha might be my favorite of all the ornaments I made.... He was so much fun!!  (Note the "'Tis the Season" wooden ornament to Ganesha's left, made by my wildly talented Aunt Janet, AKA the Roonie Ranchers' crafting hero.)


- Niki's tree received a flying pig ornament based on Lucy Ravenscar's pig pattern (remember the rainbow of piggies I made last year?) with free-handed wings.  I seriously love this tiny piggy pattern.  I'm pretty sure I've used it for at least 15 piggies at this point.


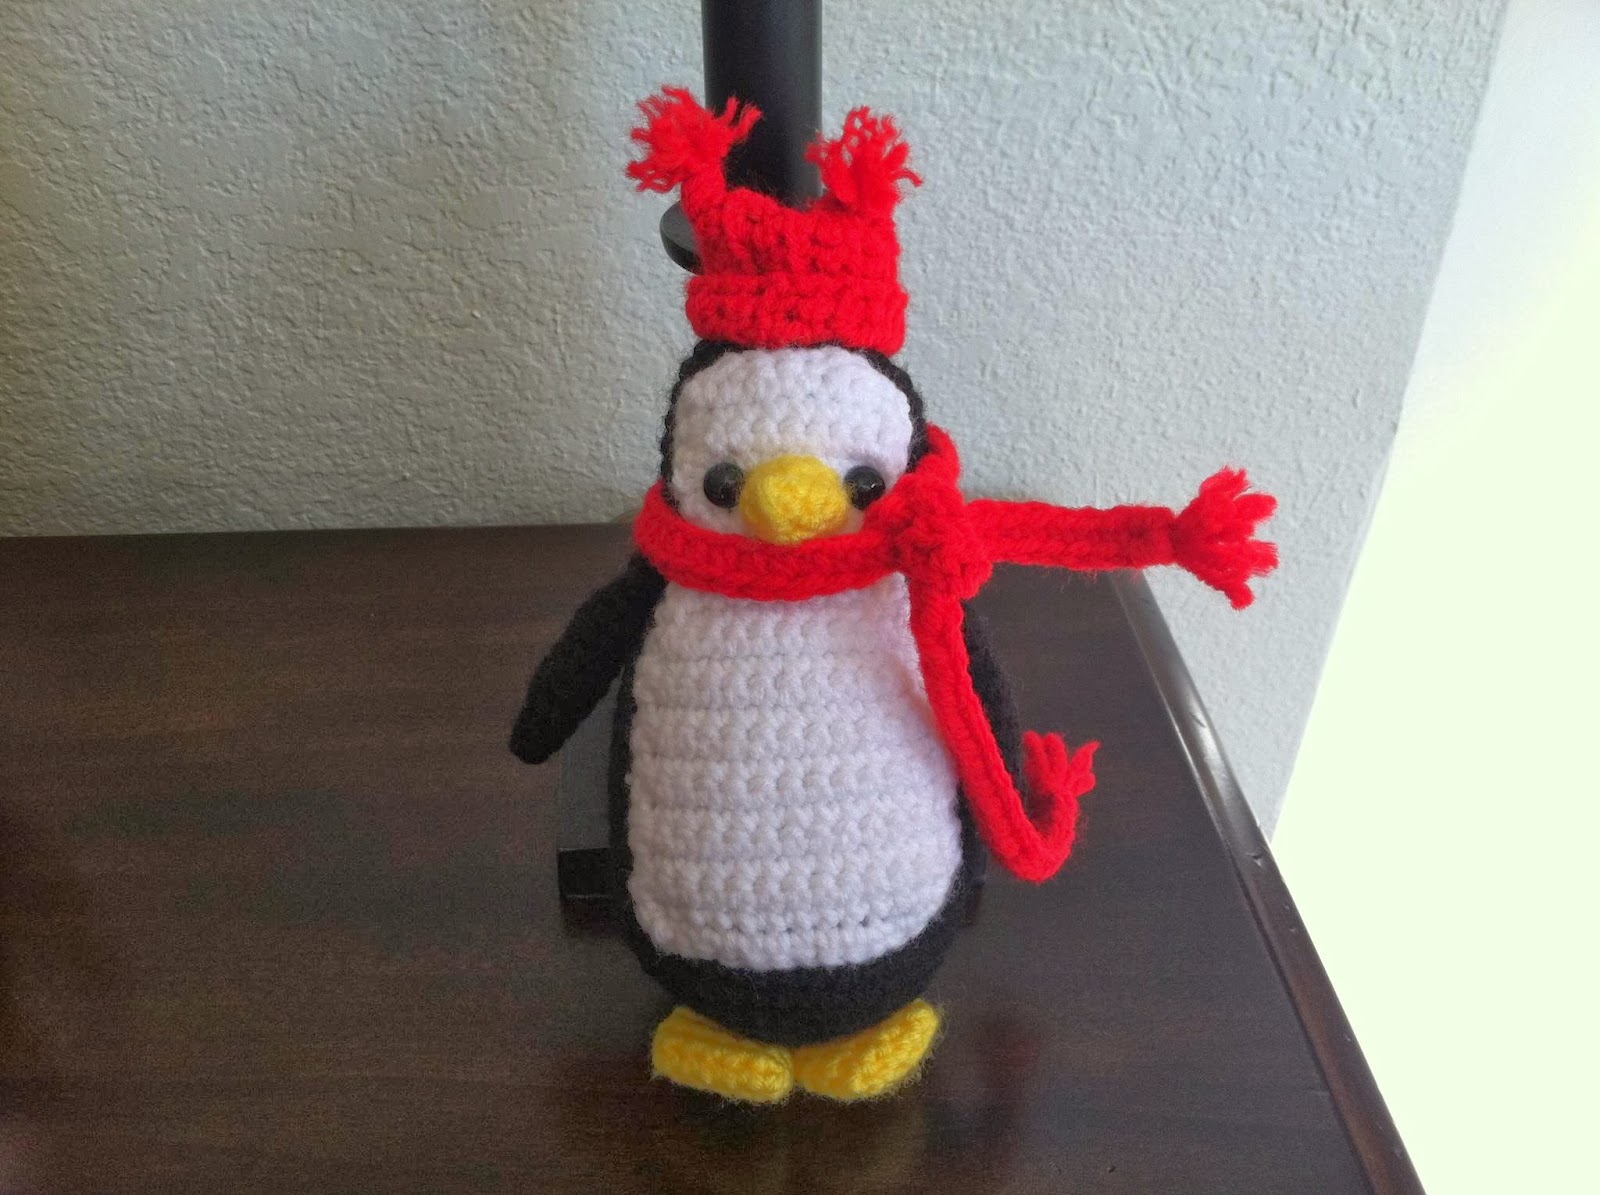
I made my nephew, Nicholas, this adorable penguin. In the picture on the pattern, he was shown as an ornament, but when I used Red Heart Super Saver worsted-weight yarn rather than the suggested sport-weight yarn, he turned into more of a small stuffed animal. All the better to cuddle with!  Not sure why the hat turned out a wee bit too small, but by the time I realized it was too small, I had already added the puffball details and was too in love with it to start over.  Now I've talked myself into thinking that it just adds to the penguin's charm.

And now for the ones with a glaring lack of pictures....  I am selfishly including these in this post just so I don't forget that I made them.

- Perhaps next year the Roonie Ranchers' mom will be able to take a quick picture of the angel I made.

- For our hilarious brother, I thought a lobster in maroon would make the perfect Christmas tree ornament.

- I gave this Santa ornament to Andrew's Aunt Anita and Uncle Bob before I took a picture of it. Whoops!!

Monday, December 23, 2013

Fancy Christmas Napkins

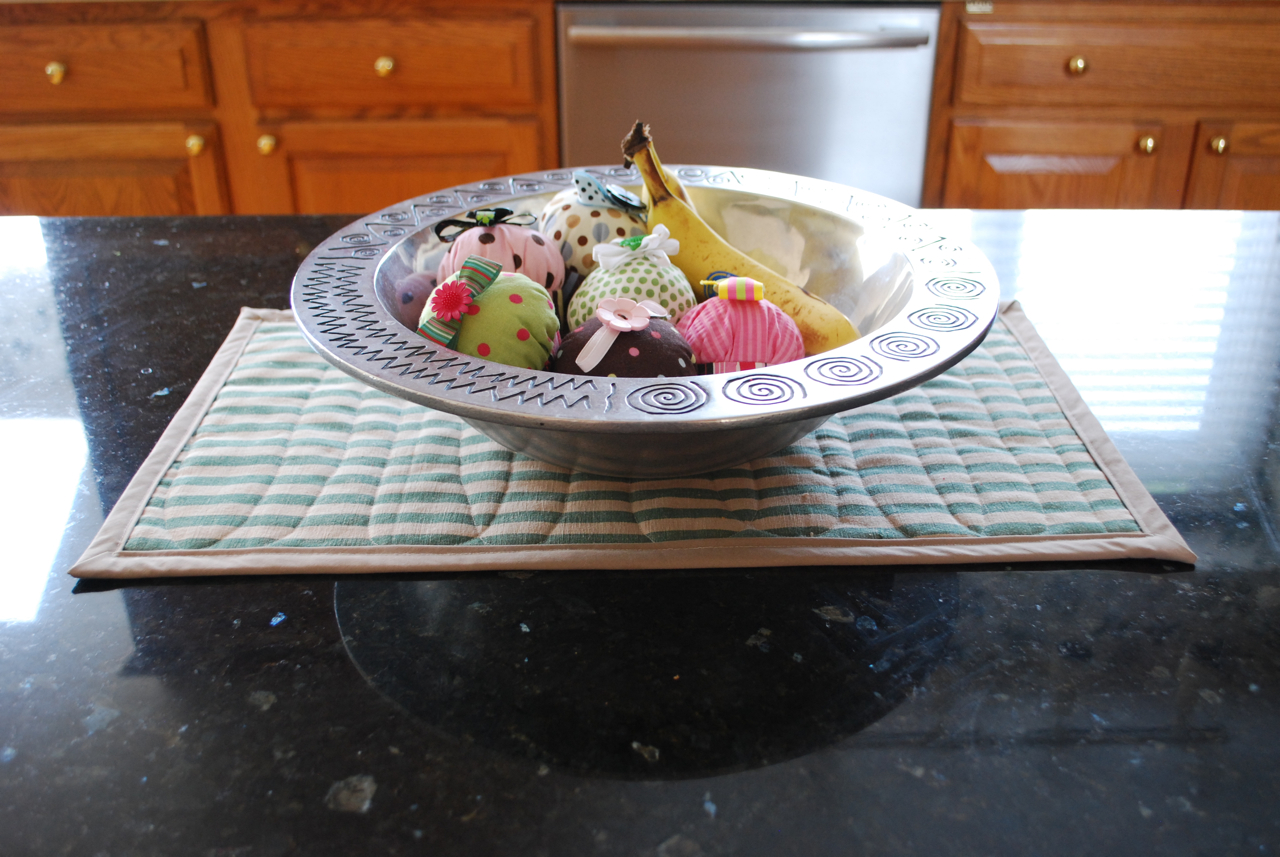
For my mother-in-law's Christmas present, I made a set of 12 cloth Christmas dinner napkins -- made in a very similar manner to the Christmas tree ornaments, only much bigger.  I basically followed a tutorial from Keepsake Quilting, but put in fewer folds to end up with a chubbier end product.


We're having two formal dinners at Barb's over the next couple of days, and I hope that these match her table well enough that she might want to use them for one of them.  I wasn't sure how many to make, but I figured that since there were going to be 10 adults (Barb, Larry, me, Corey, Stephanie, Don, Granny, Dave, Lisa, and Ellie) at Barb's dinner the day after Christmas, I had better make it an even dozen.  Well, Ellie is almost an official adult anyway!  Isn't 12 place settings a typical number for a set of china?  I'll have to ask Barb how many place settings of china she has.  I bought two yards of each fabric and have enough left over to make at least four more napkins if she thought she might like some more.  I hope to take a photo of the napkins with her place setting if she chooses to incorporate them!


I'm such a sucker for polka dots.

The napkins are ironed in to shape, of course, but the tutorial also directs you to add lines of stitching where the folds should go to assist with getting the tree folded properly in the future.  It's an odd shape for a dinner napkin, but it's kind of fun.


I used what feels like quilting cotton for these.  I made them the same way I made the ornaments, but skipped the step of adding interfacing to one of the fabrics.  The fabric half-circles were cut to 18 inches across their diameters, but the seam allowances ate up a bit of that.  The finished product is a little more than 17 inches across.

These were very fun to make, but after making nearly 30 of the tree ornaments and 12 of these napkins, I think I'm done sewing half circles for a while!

Sunday, December 15, 2013

Even more ornaments!

Corey decided that the Christmas tree ornaments I was making looked like good gifts to give to his coworkers, so I cranked out 12 more this morning.  That brings my total to 25, I believe.  That's nothing compared to the crazy numbers of ornaments my awesome Aunt Janet makes every year (sometimes from fabric, sometimes from wood and other materials), but I have never claimed to be nearly as amazing as she is.


The Michigan State one at the bottom was only folded twice instead of three times so that more of the Spartan logo could show.  I think Corey is going to give that one to his buddy, Paul, at work.  This time I used embroidery floss as the hangers and it worked really well.

For future reference, a 1/4 yard each of two contrasting fabrics is the perfect amount to make eight ornaments.

Tuesday, December 10, 2013

Fabric tree ornaments

When it comes to gifts for teachers, my usual modus operandi is to make them at the last possible second.  Thus, I am absolutely shocked that I am actually sitting here on December 10th with all of my teacher ornaments made.  I also want to make some cookies to send in with the ornaments, and I'm predicting I will be up past my bedtime making all of those the night before the last day of school.  It's not like you can make those very far ahead of time though, right?

Here are the cool little ornaments I made, using a tutorial from Life After Laundry.


No, the kids don't have 14 teachers.  I actually made 15 of them (one has already been gifted to my friend, Ivette) to give to all sorts of various and sundry people.  Peter has three teachers and an administrator, and Charlotte has a teacher plus a teacher's aide.  The other eight will go to other special people who shall remain nameless for now.

Here is a shot of an ornament up close.


The changes I made to the tutorial was to use two different fabrics instead of just one.  This gave the ornament more visual interest, in my opinion.  To make this change, I had to use a half circle that added a bit on the straight side to take into account a seam allowance.  I also added light-weight fusible interfacing to one of the fabrics to give the tree some body.  Then, I used a glue gun to tack down the folds at the tips, as well as to glue in the cord to make the hanger.  I glued in flat ribbon as a hanger for one of them, realized that it would make the ornament hang sideways, and then went to plan b (thin cord and string) for the other ornaments.

I got the cute polka-dotted/striped fabric from my mother-in-law (she de-stashed and I was the happy recipient!), and the rest were scraps from my scrap basket.  I just had an idea to glue on teeny jewels or a felt star at the top, but maybe I should just quit while I'm ahead.

Thursday, December 5, 2013

Christmas burlap table runner

I made myself a Christmas table runner because I now have a dining room that can actually accommodate my table extended to its full 10-foot length!  I added all the leaves for the Thanksgiving dinner we just hosted (with my parents, both siblings, brother-in-law, and niece) and it was all kinds of awesome to have a table runner than ran nearly the length of the table.  Of course, I didn't have it bound just yet, but I put the quilted a trimmed version on the table just for fun.  Here is how it looks all done and laid out:


It was simple to make, and I would have been done ages ago if my sewing machine hadn't been at the shop for a week and a half in the middle of the process.  I simply cut the burlap the width I wanted it, sewed two pieces together to get the final length, spray basted the top to some felt, spray basted the backing to the other side of the felt, quilted with crisscrossed lines, trimmed it, and bound it all up.

Finished, that sucker is 81" long!  If I had all of the leaves out of the table, the runner would definitely hang over the edges.  Too bad I didn't get a good shot of the awesome Santa that Aunt Janet made me four years ago.


[Man, I really need to paint that room.  The previous owner of this house had a penchant for bland colors, brass, and wallpaper, and I hope to change a lot of that soon!]

Binding is fun, but I'm still not so good at it.  There are several spots on the back where I didn't quite catch the back fold, and I am going to go back and hand-stitch those places when I get enough gumption.  I just cut four-inch strips of fabric with the grain rather than on the bias since I wasn't going to be going around any curves.  I read somewhere recently that you don't have to bother with that whole bias thing if you're binding only straight lines.  That seems to be true!


I quilted the burlap diagonally between the silver polka dots, but you can hardly see it.  Probably a good thing since I didn't draw guide lines and just sort of tried to keep the foot between the lines of dots while I sewed.  It looks okay from the back, but not perfect since I was having tension issues (most of the quilting was done before I took my machine in to be serviced -- now the tension is perfect!).


The backing is the same Kona cotton red as the binding.  I didn't take a reverse shot, but it's not hard to imagine the red with the tan stitching crisscrossing it.


This was fun to make, but damn is it hard to handle something so long when you're trying to get it quilted!  I can't even fathom how people quilt bedspreads on their home machines.  I know some people do it, but I think they must be nuts.

Thank you again to Amanda, who gave me this awesome burlap.  I think it was from Jo-Ann's, which has a very fun selection of printed burlap that I noticed last time I was there.  Burlap sheds all over the place while you're cutting and sewing it, but it looks awesome once sewn!

Thursday, November 14, 2013

Christmas of Craft

Back in 2006, before either of us Roonie Ranchers had procreated, the Evans side of the family gathered at my (Erin & Andrew's) house to celebrate Christmas.  Because we pretty much can't sit still, the Roonie Ranchers and our little brother, Jordan, spent a lot of the time crocheting and sewing (and baking cookies and playing Trivial Pursuit and ice skating and cooking and....).

Jordan first: Our little brother arrived with crocheted goods in hand.  Carrot ornaments for all, and a bacon & eggs scarf for Dad.  (Sorry the picture is zoomed and cropped a little funny, but that was to get my unshowered mother out of the picture.  She would disown me if I made such a picture public.)


He also brought his "Mr. Hankey, the Christmas Poo" (from the South Park TV show) amigurumi to show off.


Several of the afghans hanging on the blanket rack on the right-hand side of this picture are early crochet projects of mine! In the picture you can see a several Christmas decorations that my incredibly talented Aunt Janet has sewed for me over the years.

Oddly enough, my sister received a toilet seat (as part of her "Pimp My Bathroom" Christmas gift from her husband), and my Dad received a game ("Fact or Crap?) of whose name Mr. Hankey would most heartily approve.


Note the crocheted afghans in their laps.... I made the one on the left and my Great-Aunt Lois made the one on the right.  We are a really crafty family who helps keep yarn manufacturers in business.

Jordan was also working on an afghan during the holiday:


Not sure if he ever finished that!  Compared to amigurumis and doilies, afghans take FOOOOORRRREEEEVVVVVEEEERRRR!

Niki arrived with materials to hand sew the most adorable little Christmas stockings for cats.  Yes, in years past, my sister DID actually hand-sew things.  That was before her sewing machine addiction got out of control.


Niki also made the necklace that she is wearing in this next picture.  Good grief, I think we need craft addiction counseling.


This is the only picture I have of me crocheting, and I was making a doily, though I have no memory of where it ended up. Back then, I gave away a lot of doilies as gifts!  This is back before I discovered the fun of amigurumi and had a child and a whole slew of her friends for which I could create handmade stuffed animals.  Yes, I am unshowered in this picture, but so was Niki in the picture with the toilet seat, so I figured fair is fair.  Also, I am wrapped up in the afghan I crocheted for Andrew while we were engaged.


The work in progress (obviously unblocked!!):


This looks vaguely familiar.  It might be in a guest bedroom, but I'm too lazy to go upstairs and look.

So, yeah-- my siblings and I have a crafting addiction.  Definitely something in the genes!


(I also have no ability to open my eyes properly while smiling for pictures.  Crocheting is far more fun than modeling if you ask me.)

Monday, April 29, 2013

More past sewing for posterity's sake

More items sewn over the past few months . . .

Tape measure pouch (this one was just an experiment and I learned a lot from making it -- I'm totally remaking it now that I know the quirks of my Husky when you're doing a really wide zig zag!):


Peek-a-Boo Toy Sack for all of Peter's Star Wars toys:


Peek-a-Boo Heart Pouch for all of Charlotte's valuable treasures:


Crazy zipper pouch from a book I checked out from the library and no longer have in my possession (I hated the pattern because it left all sorts of raw edges inside):


Here's the flip side.  All of the zippers open to separate compartments!


Little Makeup Bag for Charlotte to use for her treasures (turned out way shorter than I intended, which is further proof that I should stick to following patterns and tutorials exactly rather than trying to tweak them!):


Felt Batman mask alongside Petey's beloved amigurumi Batman that Auntie Ernie made him:


A drawstring top "Bagsket" for the kids' toys that obviously has some issues with handle floppiness (likely to do with rough handling by one or both of the munchkins):


iPad case that I absolutely adore (despite the funkiness in the topstitching on the denim by the zipper):


I loved it so much that I made another virtually identical one for Mom (though this photo is actually just another view of mine):


Mini simple table-topper that I designed myself to experiment with quilting and binding (neither of which I am good at!):


Bigger simple table runner:


Storage cube with a vinyl pocket for a label, using cardboard inside to give it shape:


It fits all of our Wii games and controllers perfectly.


Clear Toy Storage Bag for Amanda to use for her gallon o' games (with special guest star Rocky):


Snappy Bag for Amanda (love the ruffle but hate the raw edges inside the pouch):


Kids' Activity Bag for Maisie (turned out cute except for the fact that I goofed up a measurement and didn't make the drawstring top part long enough!):


Here it is open:


Another Peek-a-Boo Toy Sack for Quinn:


Snappy coin pouch for Faith Carol (using tape measure for the snap opening):


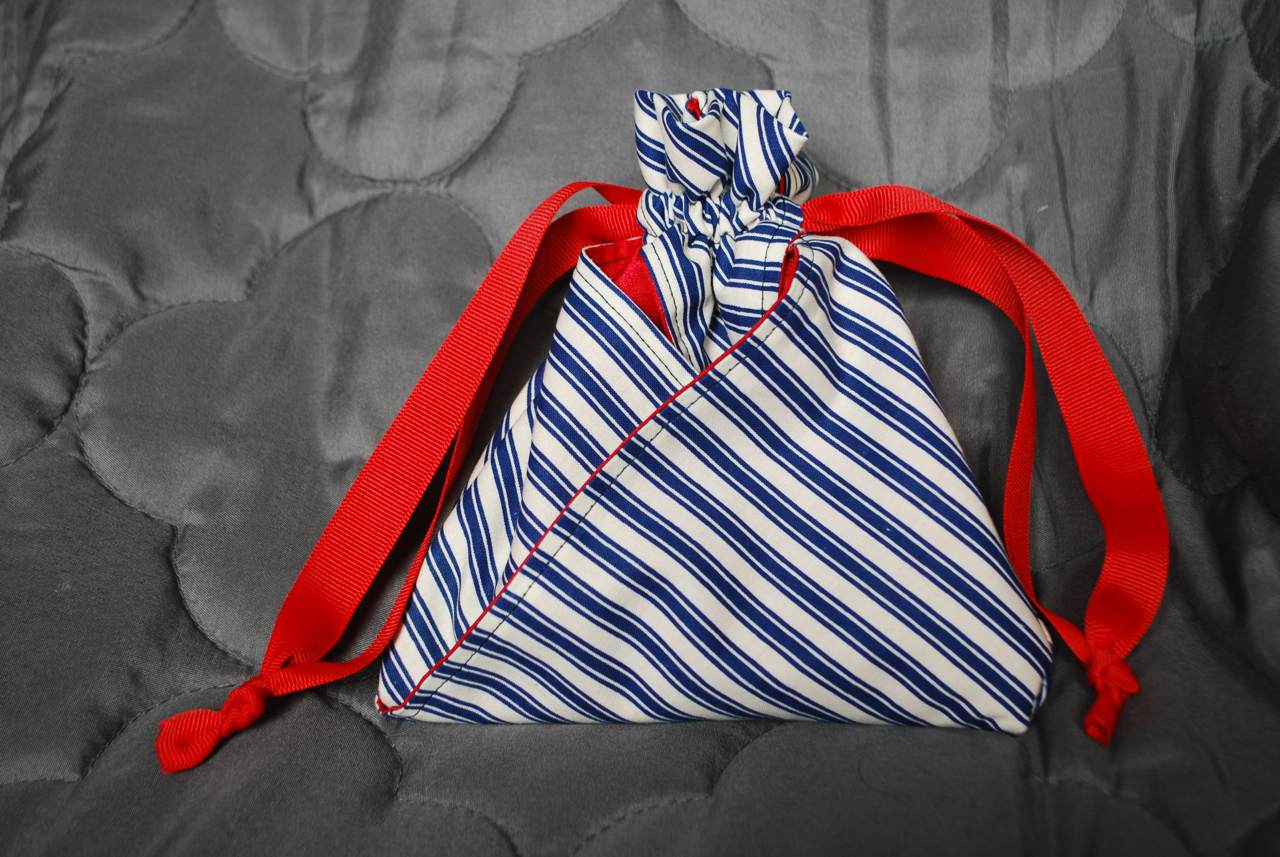
Another origami bag for Faith Carol:


A mesh beach bag for Faith Carol inspired by this tutorial but mostly designed myself (my first time using grommets!):


Recycled jeans pocket pouch for Sonia (from some old jeans of Charlotte's that got a huge hole in one knee):


Charlotte's First Day of School skirt (made from my favorite circle skirt tutorial, of course!):


Poodle skirts for Charlotte and Maisie (also from the circle skirt tutorial):


Tool belts for Anderson, Maddie, and Owen (from this tutorial):


And one for Peter, too!  Looks especially good with a Batman costume.


Another one of those sundresses from Corey's old t-shirt (given to Sonia):


This isn't really any sewing, but it used a bunch of felt.  It's a Christmas tree the kids could decorate and redecorate.  We hot glued on sequins to felt ornaments and the kids loved it.  We made a few more for friends and family, and each one was a hit.  Erin made one for Sonia, too!


And finally, a great seat-back organizer that Erin commissioned.  This one was from Simplicity pattern #3731, and I did it in some great laminated cottons that Erin bought for the project: