More items sewn over the past few months . . .
Tape measure pouch (this one was just an experiment and I learned a lot from making it -- I'm totally remaking it now that I know the quirks of my Husky when you're doing a really wide zig zag!):
Peek-a-Boo Toy Sack for all of Peter's Star Wars toys:
Peek-a-Boo Heart Pouch for all of Charlotte's valuable treasures:
Crazy zipper pouch from a book I checked out from the library and no longer have in my possession (I hated the pattern because it left all sorts of raw edges inside):
Here's the flip side. All of the zippers open to separate compartments!
Little
Makeup Bag for Charlotte to use for her treasures (turned out way shorter than I intended, which is further proof that I should stick to following patterns and tutorials exactly rather than trying to tweak them!):
Felt
Batman mask alongside Petey's beloved amigurumi Batman that Auntie Ernie made him:
A drawstring top "
Bagsket" for the kids' toys that obviously has some issues with handle floppiness (likely to do with rough handling by one or both of the munchkins):
iPad case that I absolutely adore (despite the funkiness in the topstitching on the denim by the zipper):
I loved it so much that I made another virtually identical one for Mom (though this photo is actually just another view of mine):
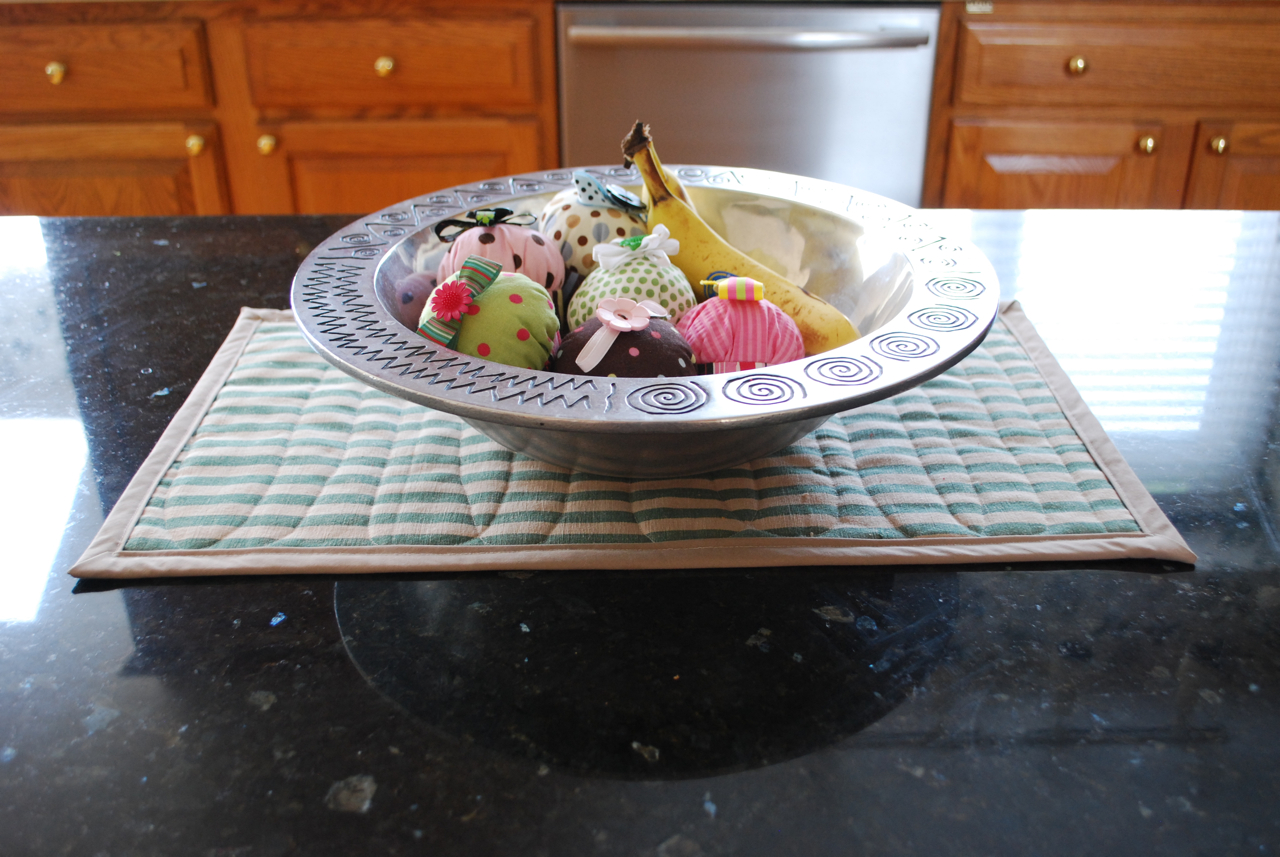
Mini simple table-topper that I designed myself to experiment with quilting and binding (neither of which I am good at!):
Bigger simple table runner:
Storage cube with a vinyl pocket for a label, using cardboard inside to give it shape:
It fits all of our Wii games and controllers perfectly.
Clear Toy Storage Bag for Amanda to use for her gallon o' games (with special guest star Rocky):
Snappy Bag for Amanda (love the ruffle but hate the raw edges inside the pouch):
Kids' Activity Bag for Maisie (turned out cute except for the fact that I goofed up a measurement and didn't make the drawstring top part long enough!):
Here it is open:
Another Peek-a-Boo Toy Sack for Quinn:
Snappy coin pouch for Faith Carol (using tape measure for the snap opening):
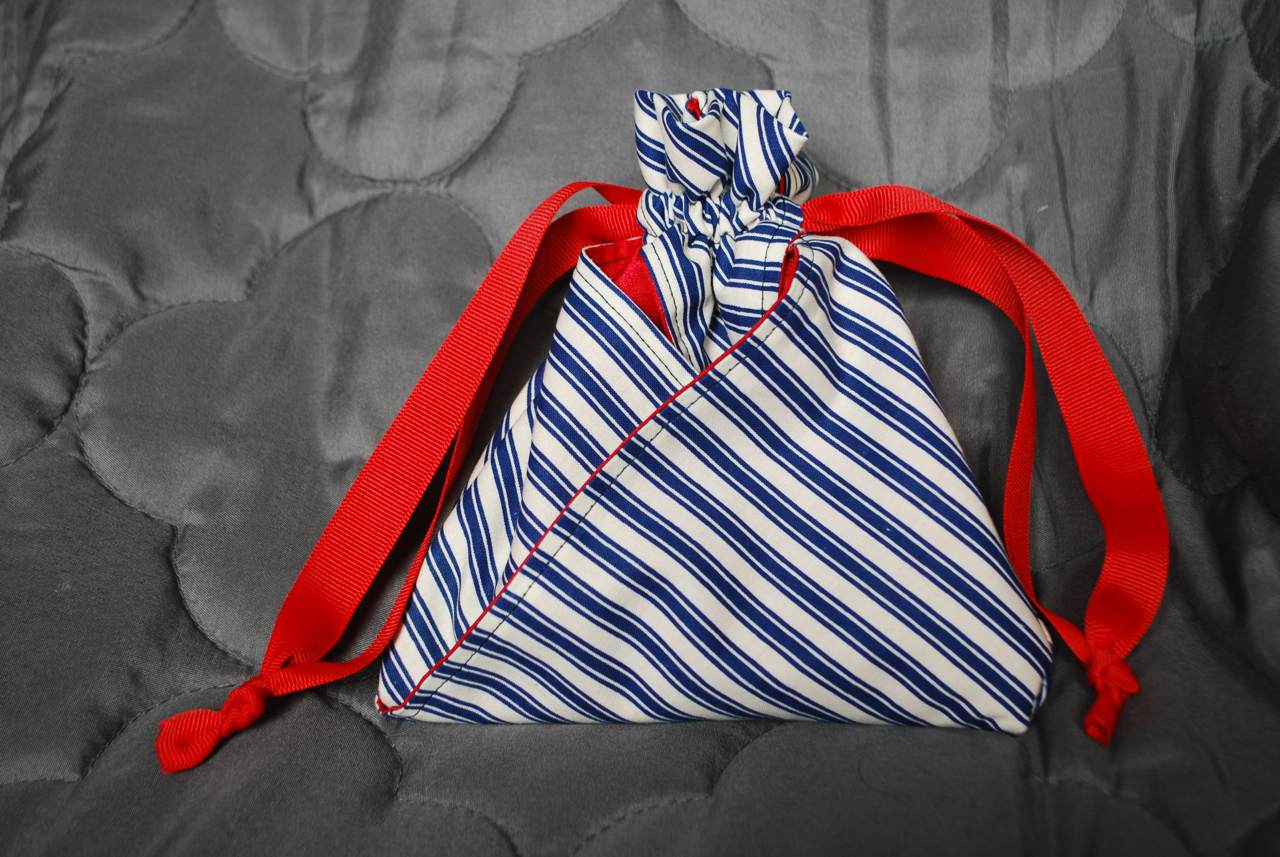
Another
origami bag for Faith Carol:
A mesh beach bag for Faith Carol inspired by
this tutorial but mostly designed myself (my first time using grommets!):
Recycled jeans pocket pouch for Sonia (from some old jeans of Charlotte's that got a huge hole in one knee):
Poodle skirts for Charlotte and Maisie (also from the circle skirt tutorial):
And one for Peter, too! Looks especially good with a Batman costume.
Another one of those
sundresses from Corey's old t-shirt (given to Sonia):
This isn't really any sewing, but it used a bunch of felt. It's a
Christmas tree the kids could decorate and redecorate. We hot glued on sequins to felt ornaments and the kids loved it. We made a few more for friends and family, and each one was a hit. Erin made one for Sonia, too!
And finally, a great seat-back organizer that Erin commissioned. This one was from Simplicity pattern #3731, and I did it in some great laminated cottons that Erin bought for the project:


